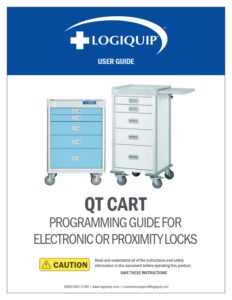
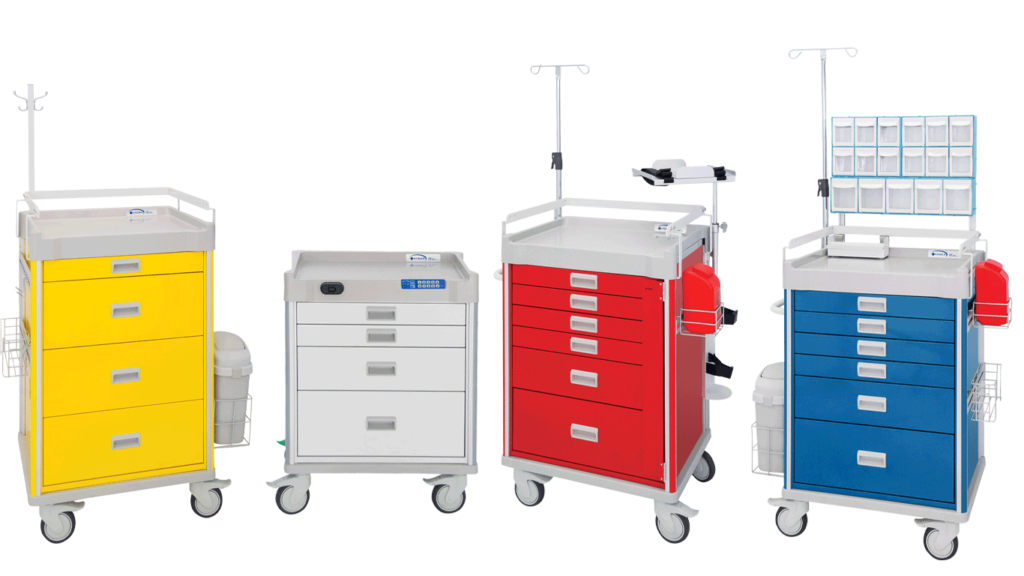
QT® Carts
QUICK START GUIDE
Set-Up & Use
Unpack
All QT® Carts go through a 12-Step Quality Check process before shipping. Upon arrival, please follow the below instructions for Receiving and Unpacking your new QT® Carts.
Unlock
All QT® Carts go through a 12-Step Quality Check process before shipping. Upon arrival, please follow the below instructions for Receiving and Unpacking your new QT® Carts.
Clean
All QT® Carts go through a 12-Step Quality Check process before shipping. Upon arrival, please follow the below instructions for Receiving and Unpacking your new QT® Carts.
Unpack Your New QT® Carts
Inspection:
- Receiving area must meet all State and Local regulations prior to unpacking
- Customer must inspect both the skid and Cart before and after unpacking to determine if any items were damaged during shipping
- All damaged items must be listed on the Bill of Lading
- Customer is responsible for the proper disposal of all packing materials; the disposal of these items must meet all State and Local regulations
Unpacking QT® Carts
QT® Carts are shipped on well-constructed wooden skids.
Two (2) steel bands secure the product(s) to the skid. The surfaces of the Carts are protected by layers of plastic wrapping.
Care must be taken while unpacking the items to avoid damage. Do not drop tools on the Carts or scratch the surfaces with sharp edges.
Retain all shipping materials until the items are completely unpacked and inspected for damage.
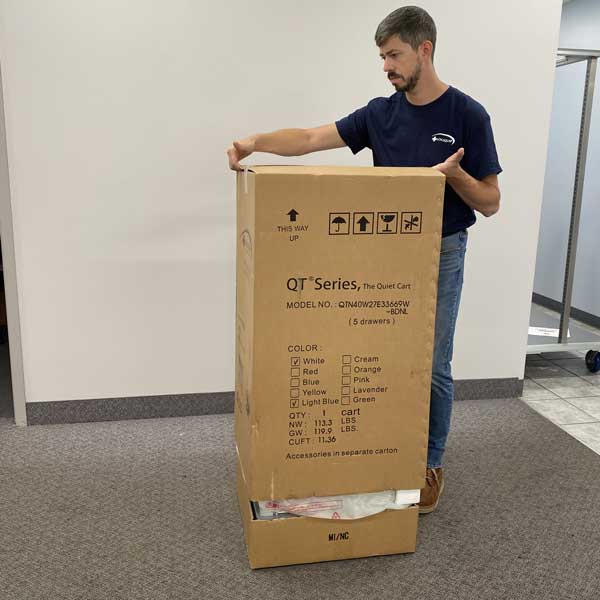
1. Lifting from the top, pull the box cover off the QT Cart. Several Styrofoam pieces will fall off to the sides.
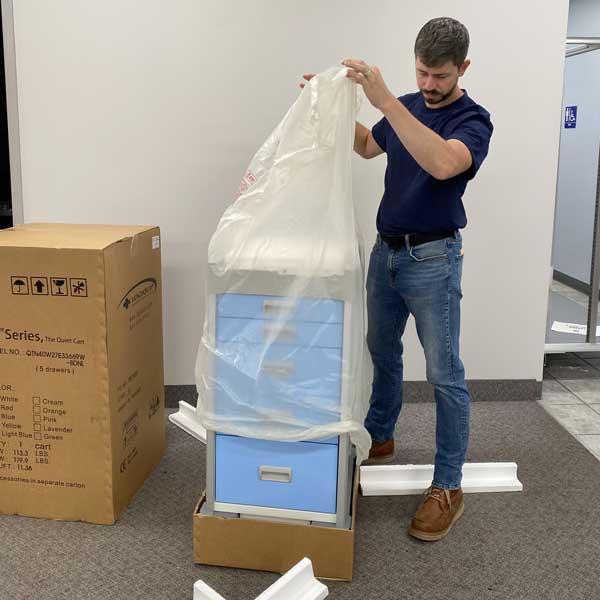
2. Remove the plastic cover over the QT Cart.
NOTE: Set packing materials to the side until you are able to test the product to ensure it is working properly.
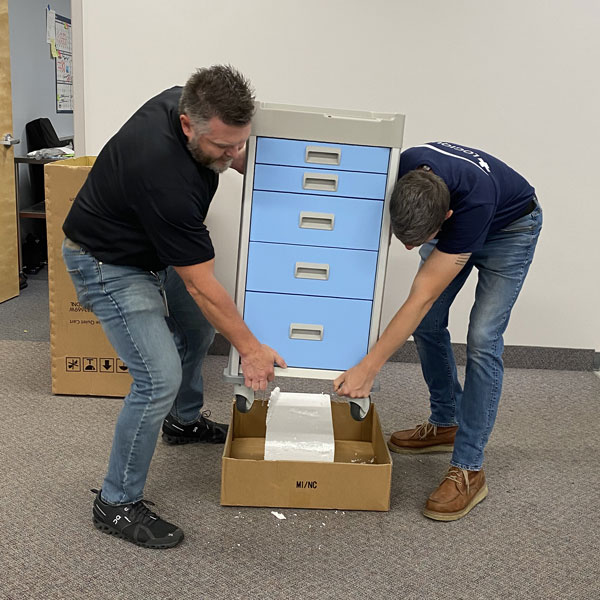
3. With two people, one person on either side of the cart, lift the cart from out of the bottom portion of the box, and place it on the ground.
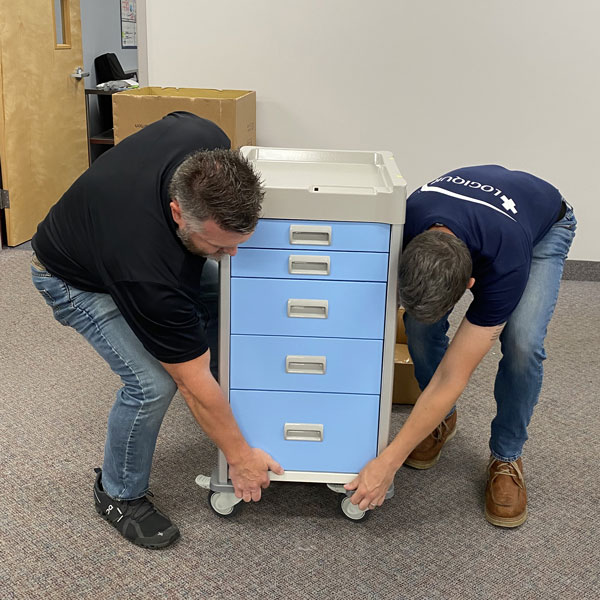
NOTE: Lift the cart out of the box by grabbing and lifting the QT Cart from the bottom, as shown.
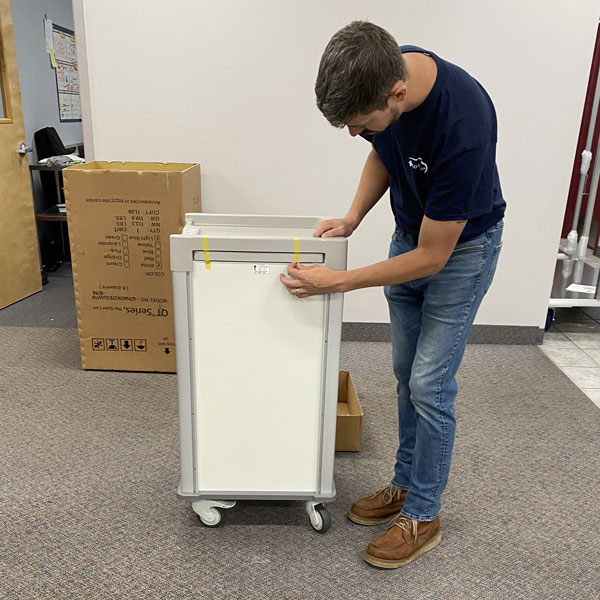
4. On the right side of the QT Cart, remove the tape strips from over the pull-out shelf.
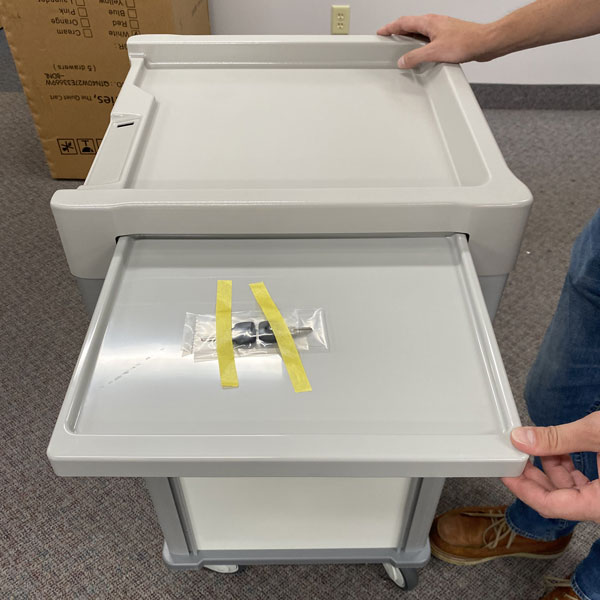
NOTE: The keys are in a small bag, taped to the shelf. Store the Keys and the Manuals with a green sticker in a safe place.

5. Divider Sets can be found in the third drawer down.
If You Have Key Lock, Stop Here. If You Have eLock, Continue to Unlock Your New QT® Cart
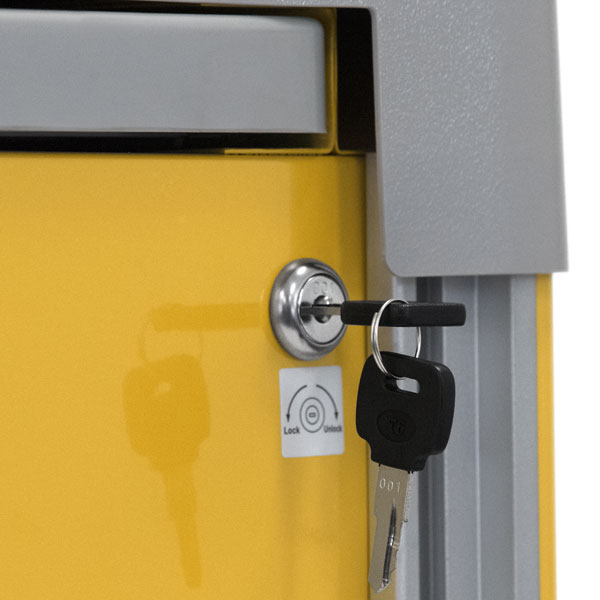
Key Lock
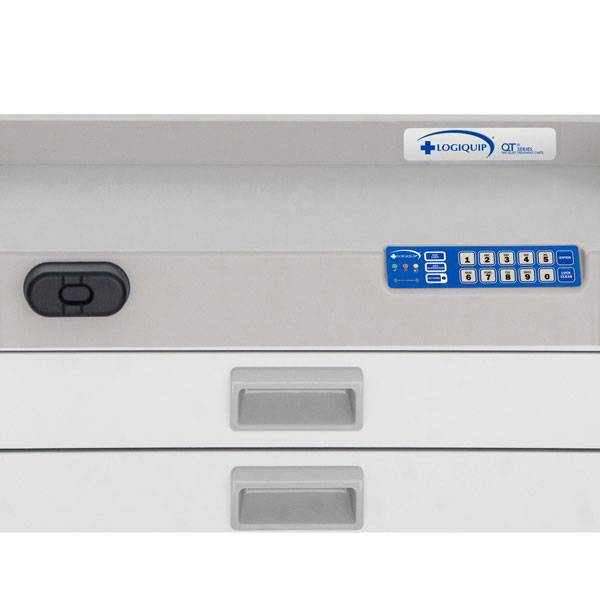
elock
Unlock Your New QT® Carts
1. Initial eLock Programming
• Your QT Cart is set to default Supervisor and User Codes. These default codes should be changed before using your QT Cart. Best practices for Supervisor/User Codes are to have the Supervisor Code be at least one digit longer than a User Code. DEFAULT CODES ARE:
• Supervisor – 12345
• User – 1234
NOTE: You cannot delete the Default Supervisor Code until a new Supervisor Code is created.
2. Add a NEW SUPERVISOR CODE
• If the Green Light is Blinking Press LOCK/CLEAR. If it is not, move to next step
• Enter Default Supervisor Code 12345 and hit ENTER. The cart will Unlock
• Press ADD SUPERVISOR
• Enter NEW Supervisor Code (4 to 14 digits)
• Press ENTER or scan Supervisor Card credential (if equipped with Proximity Lock)
NOTE:
This Supervisor Code now occupies slot 1
• Press LOCK/CLEAR to exit
3. Remove Default Supervisor Code
• Enter Your NEW Supervisor Code and press ENTER or scan a valid Supervisor Card credential (if equipped with Proximity Lock)
• Press and Hold ADD SUPERVISOR and LOCK/CLEAR at the same time.
• Release ADD SUPERVISOR and LOCK/CLEAR at the same time. The lights on the keypad will blink from right to left.
• Enter the PIN code to be deleted or present the card to be deleted and press ENTER
• Press LOCK/CLEAR
NOTE: You cannot login using the same Supervisor Code you are trying to Delete. For example, if you are trying to Delete Supervisor Code 12345, you must be logged into the system with a different Supervisor Code.
4. Add New User Code
• Enter valid Supervisor Code and press ENTER or scan valid Supervisor Card credential (if equipped with Proximity Lock)
• Press ADD USER
• Enter the new User Code (4 to 14 digits) or scan new User Card credential
• Press ENTER
• Press LOCK/CLEAR
• Test new User Code
5. Delete Default User Code
• Enter valid Supervisor Code and press ENTER or scan valid Supervisor Card credential (if equipped with Proximity Lock)
• Press and Hold ADD USER if the credential to be deleted is a User
• Press LOCK/CLEAR. The lights on the keypad will blink from right to left
• Release ADD USER
• Enter the Default User Code and press ENTER or scan the User Card credential to be deleted
• Press LOCK/CLEAR
6. Set up Dividers and go!
Clean Your New QT® Carts
Always comply with facility cleaning standards and guidelines*.
Before using any cleaner, do a spot test on a small, inconspicuous area of your product to ensure it will not cause damage to the finish.
Solvents, acidic or abrasive cleaners can damage surfaces and are not recommended.
Wipe spill away promptly and rinse several times with water.
Steel wool and other abrasive cleaning pads will damage the surface.
Do not mix different cleaning agents to clean or disinfect.
Rust remover, drain cleaners and toilet bowl cleaners contain harsh chemicals and will quickly cause permanent damage.
Hair, textile and food dyes can cause permanent stains.
Recommended Cleaning Products
Soap and water and most common cleaners/disinfectants are excellent for most cleaning and disinfecting purposes as long as the directions on the label are followed.
The following cleaning products are acceptable when used according to directions:
•AHP Accel®
•Bleach Mixture (1/3 cup bleach per 1 gallon of water)
•Dispatch® Hospital Cleaner Disinfectant
•Diversey™ Oxivir® Tb Wipes
•Hydrogen Peroxide
•Isopropyl Alcohol
•Metrex™ CaviWipes™
•Oxivir® Tb
•Quaternary Cleaners
•Sani-Cloth® AF3
•Sani-Cloth® HB
•Sanimaster™ 6
•Super Sani-Cloth®
NOTE: DO NOT use any of the above listed cleaners on the keyboard. Only non-acid based cleaners.
Recommended Cleaning Procedures
- Remove debris before application of the cleaner/disinfectant.
- Apply cleaner/disinfectant according to the label. Avoid using sprays on products with electronic components.
- Ensure that the solution is wiped away with a clean cloth. Do not allow the cleaner to remain on product longer that the time recommended on the label.
- When solutions are NOT contained in a spray bottle make sure to appropriately dispose of the solution, cleaning cloth and cleaning supplies after each cleaning.
Keypad Cleaning Instructions
1.To Clean The Keypad Surface, Apply Non-Acid Based Cleaner To A Clean Cotton Cloth. DO NOT Spray Cleaner Directly On The Keypad.
2. Wipe Down Keypad (Especially The Edges) And Ensure Excess Cleaner Is Removed.
THE USE OF EXCESSIVE CLEANER WILL CAUSE THE CIRCUITRY TO CORRODE AND FAIL.
For troubleshooting, help, and FAQs for LogiCell® Carts, CLICK BELOW.
For helpful, how-to videos for LogiCell® Carts, CLICK BELOW.
QT® Accessories
Roll over the + signs below and hit play to view demos of the LogiQuip QT® Carts Features


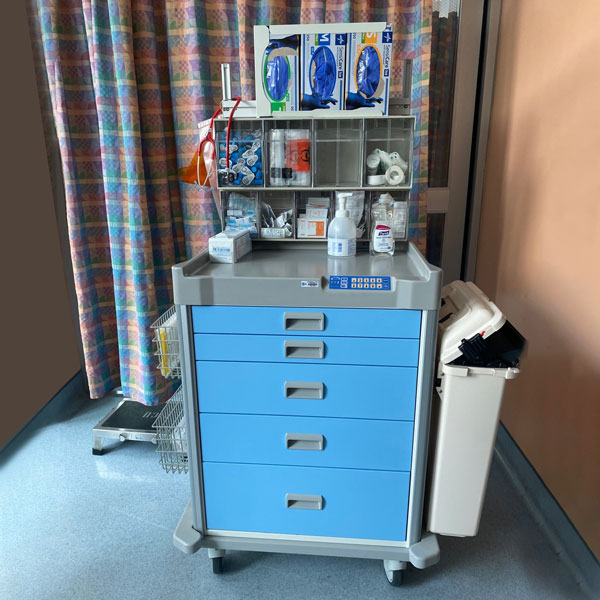
Shown: Light Blue QT Cart with Tilt Bins Baskets
Documents